
Imagine the unboxing moment: your new stair runner, a cascade of exquisite texture and colour, arrives at your door. It holds the promise of transforming a functional space into a design statement. But for many, that excitement is quickly followed by a practical question: how do you secure this beautiful underfoot-artwork without permanently altering your staircase?
The good news is that you can achieve a flawless, professional-looking finish that is both secure and completely reversible. Installing a runner without nails is a respectful choice, perfect for preserving period features, accommodating rental living, or simply for those who cherish flexibility. It’s a testament to the idea that true style and considered living go hand-in-hand.
This method celebrates a gentler approach to interior design—one that elevates your home without leaving a mark. Ready to begin? Let’s walk through the process together.
Why Choose a Nail-Free Installation?
Opting out of a permanent fix isn't just a practical decision; it's a philosophical one. It speaks to a thoughtful, adaptable way of curating your home, without nailing into your hardwood (or your runner!)
Preservation:
It’s the ultimate sign of respect for your home’s original structure, leaving woodwork pristine and untouched for future generations.
Flexibility:
Life moves, and so do we. A non-permanent installation allows your runner to move with you, a choice that aligns with a sustainable, quality-over-quantity mindset, even for those who aren't in their forever homes yet.
Peace of Mind:
It removes the fear of commitment, making it a wonderful entry point for experimenting with pattern, colour, and texture in your home.
Simplicity:
While it requires a meticulous eye, the process is accessible to the confident DIY enthusiast, offering immense satisfaction.
Gathering Your Toolkit: The Essentials for Success
Every craft requires the right tools. Preparing these items beforehand will make the installation process smooth and serene.
-
Your Stair Runner: Unroll it and let it acclimatise in the room for at least 24 hours. This allows the fibres to relax and any transit creases to naturally drop out (I don't think we'd feel ready for the process immediately after a long journey either!).
-
Premium Rug Pad or Underlay: This is the non-negotiable hero of a nail-free installation. A natural rubber or dense felt pad provides crucial cushioning, prevents slipping, and helps the runner maintain its position. It’s an investment in both safety and the longevity of your runner.
-
Heavy-Duty Double-Sided Carpet Tape: Select a high-quality, wide tape designed specifically for rugs and carpets. This will be your primary method of adhesion.
-
Sharp Scissors, a Measuring Tape, and a Fabric Pencil: For precision cutting and marking.
-
A Knee Kicker (Optional but Recommended): This traditional carpet layer’s tool can often be rented. It’s invaluable for pulling the runner taut over the step nosing, creating a crisp, professional finish without any hardware.
The Art of Installation: A Step-by-Step Guide
Approach this task with patience. Transforming your staircase is a rewarding ritual. Put on some music, take your time, and enjoy watching the transformation unfold.
Step 1: The Foundation of Cleanliness
Begin with an impeccably clean staircase. Every tread and riser must be free of dust, debris, or any polish residue that could lessen the grip of the adhesive tape. This is the most critical step for ensuring a secure hold.
Step 2: Fitting the Underlay
Measure and cut your rug pad to fit perfectly on each stair tread. It should sit flat without creeping up the riser or overlapping the edges. Secure the pad to the tread using strips of your heavy-duty double-sided tape—place it at all four corners and one in the centre for maximum hold. Press down firmly to activate the bond.
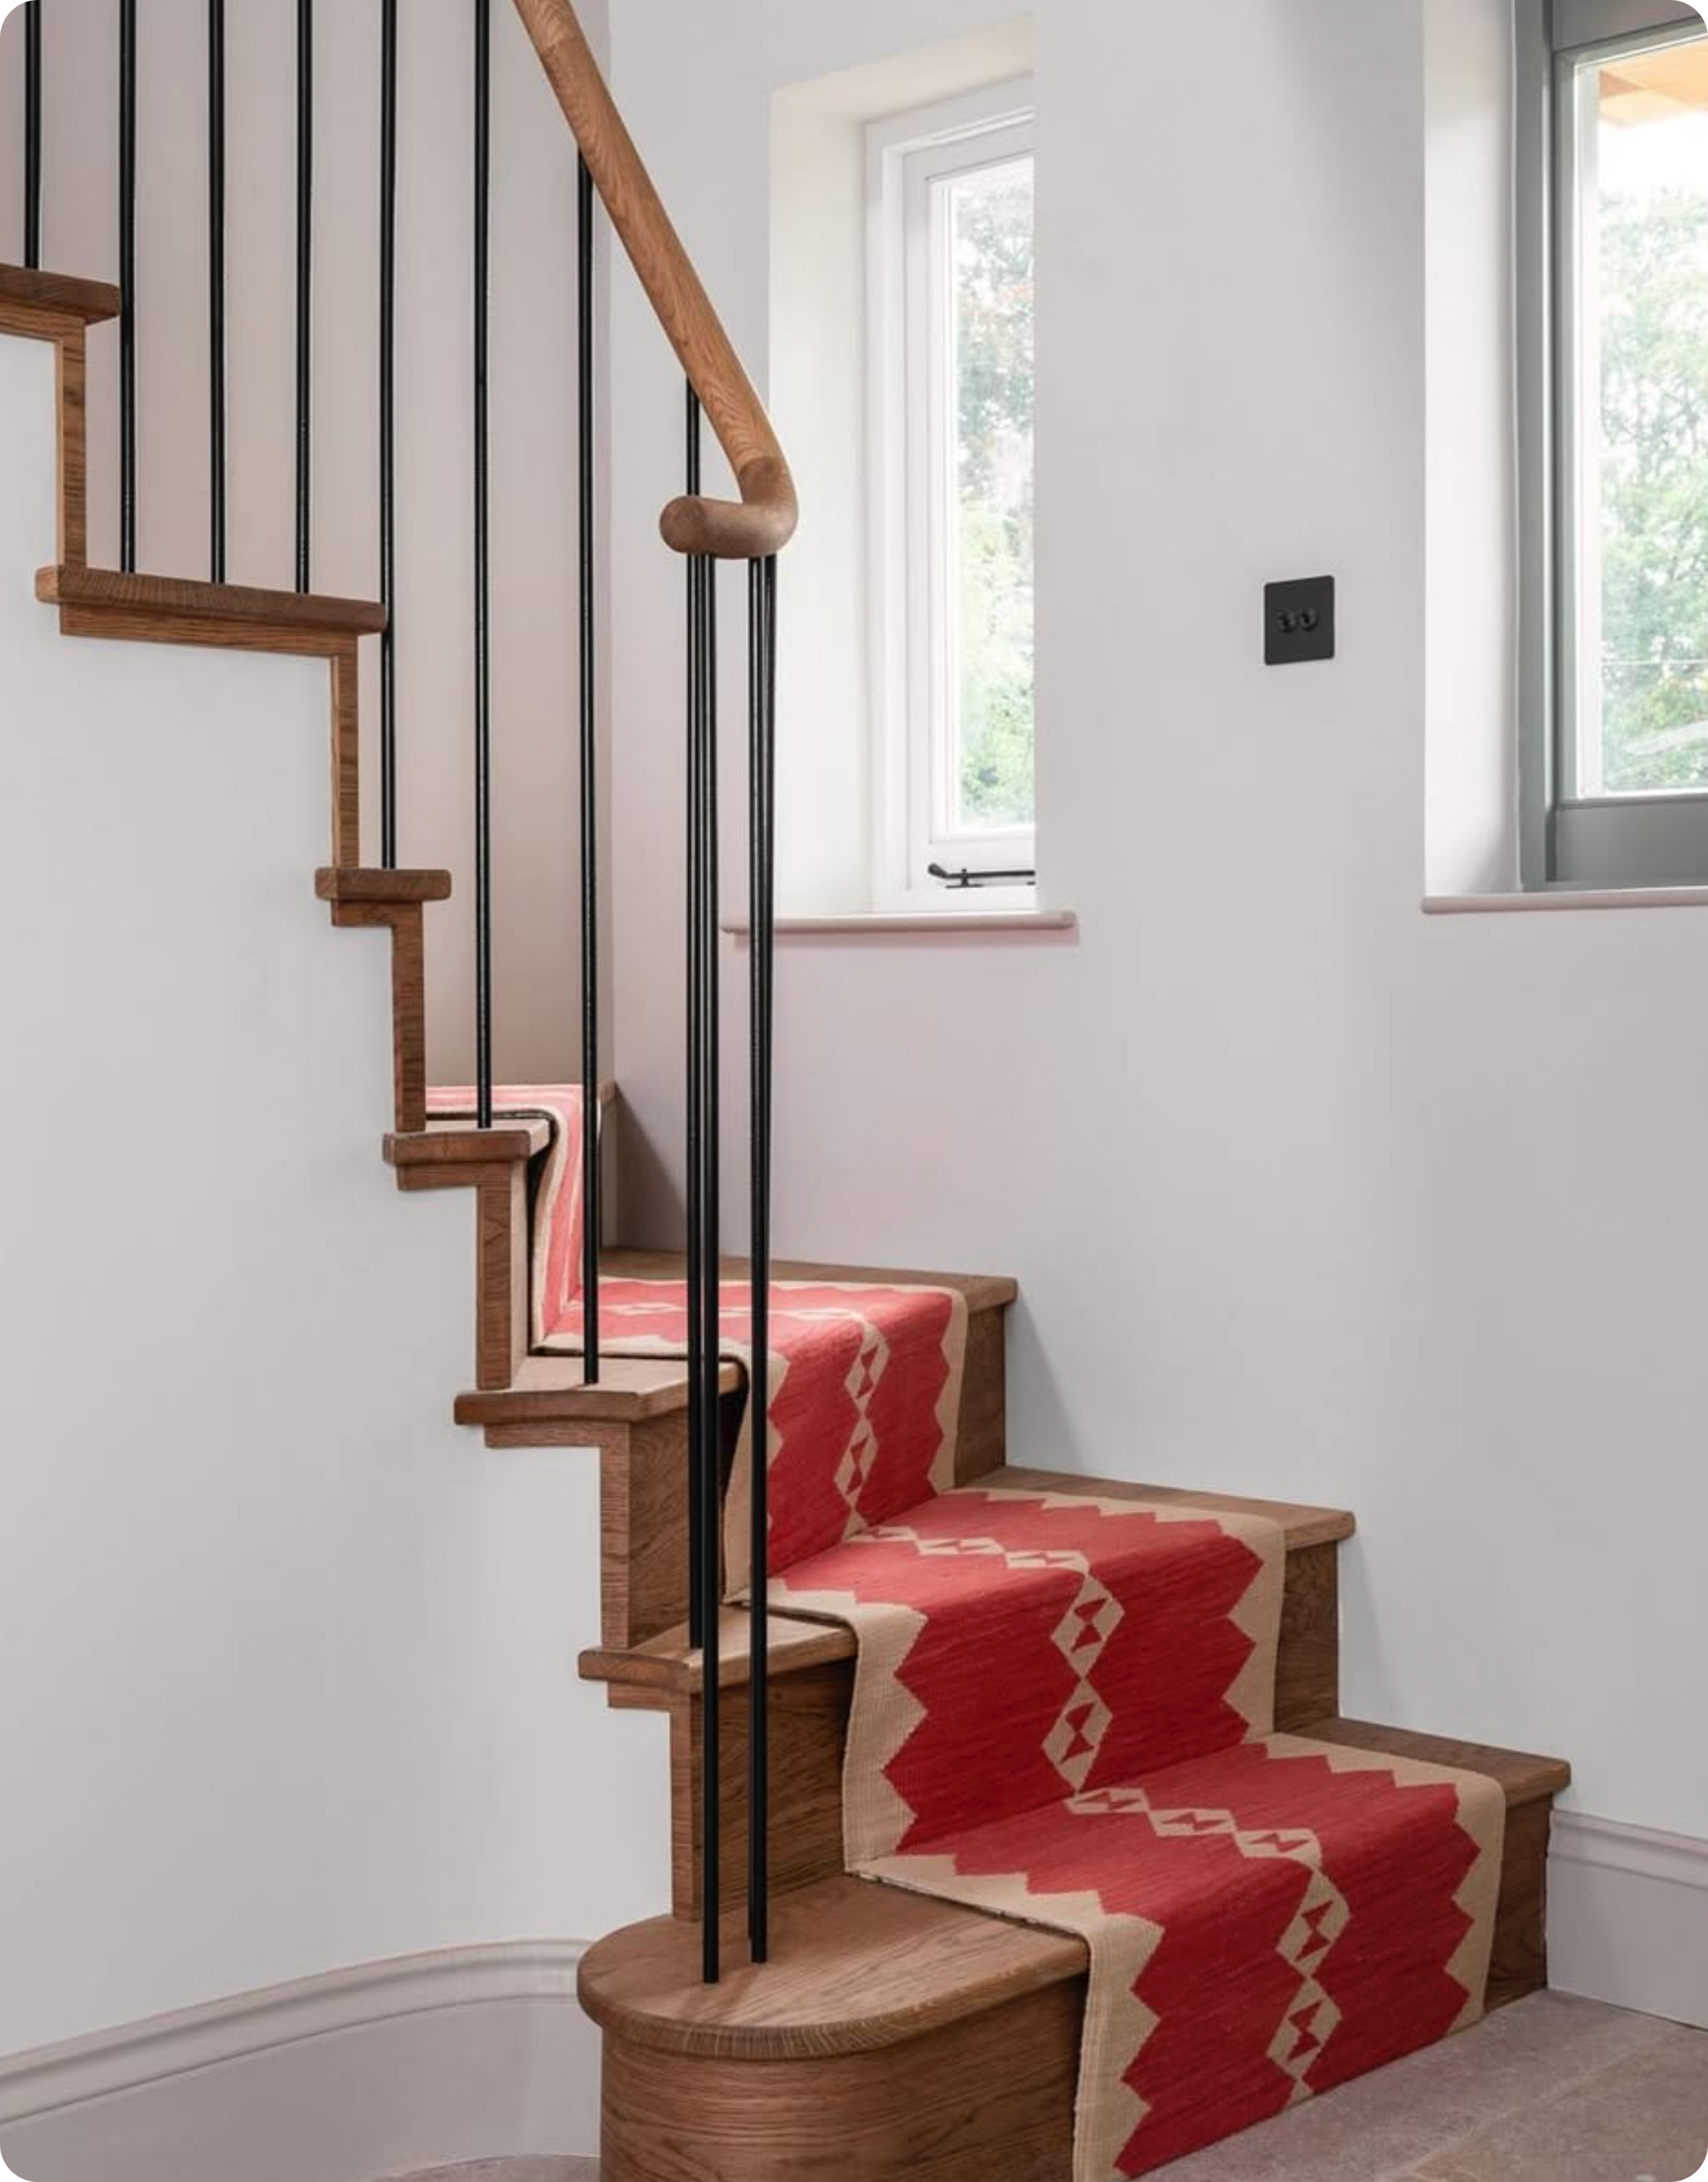
Step 3: The Grand Unfurling
Start at the top of the staircase. Position your runner so it is perfectly centred, leaving a harmonious amount of exposed wood on either side. Allow a few extra inches of runner to curve over the top step’s nosing. Use your fabric pencil to make light, discrete marks on the back of the runner at the back of each tread to maintain alignment as you descend.
Step 4: Securing with Confidence
Working from the top down, lift one section of the runner at a time to reveal the underlay.
-
On the Tread: Apply strips of double-sided tape directly to the rug pad. Press the runner firmly onto the tape, smoothing from the centre outwards to eliminate wrinkles.
-
On the Riser: For added security, you can apply a horizontal strip of tape to the riser itself. Gently tuck the runner into the corner where the tread meets the riser, creating a clean line, and press it onto the tape.
-
The Nosing: Ease the runner smoothly over the curved edge of the stair. If you have a knee kicker, use it here to pull the fabric taut for a pristine finish without needing to staple underneath.
Continue this methodical process, step by step (pardon the pun), frequently checking that your runner remains centred and straight.
Step 5: The Final Flourish
At the bottom step, trim any excess runner, leaving enough length to tuck neatly underneath or secure firmly to the final tread. Once complete, walk up and down the stairs. Feel the luxurious cushion underfoot and admire how the light plays on the woven texture. You’ve not only installed a runner; you’ve woven a new layer of character into your home and perhaps earned a cup of tea.
Embracing the Transformation
Choosing a nail-free installation is a beautiful way to honour your space. It proves that you don’t have to choose between bold design and thoughtful preservation. Your staircase can be both a functional necessity and a cherished, evolving canvas—a testament to a home that is truly lived-in and loved.
This gentle approach allows your stunning runner to tell its story, bringing warmth, sophistication, and a touch of joy to your daily journey up and down the stairs.
Share:
Stair Treads vs. Runners: Weaving Your Path to a Beautiful Staircase
Stair Treads vs. Runners: Weaving Your Path to a Beautiful Staircase